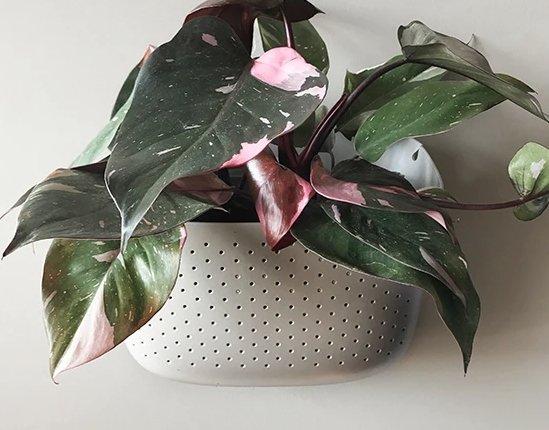
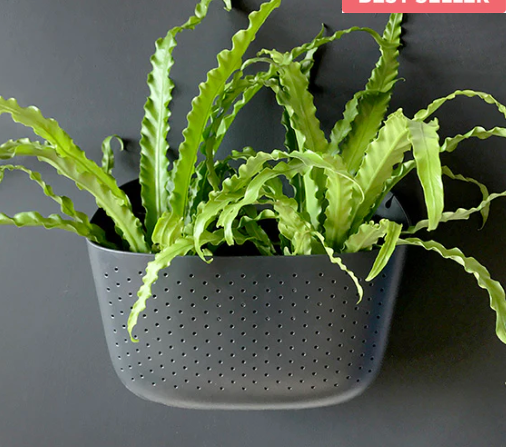
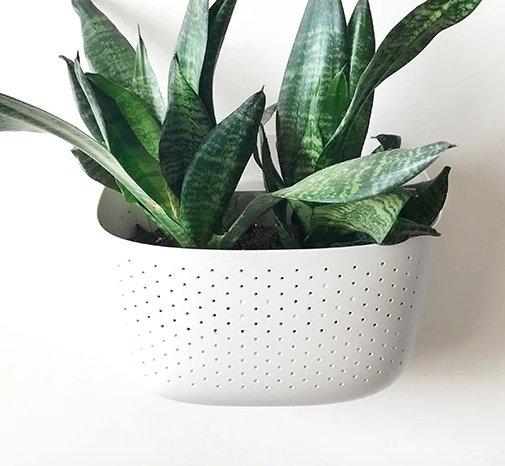
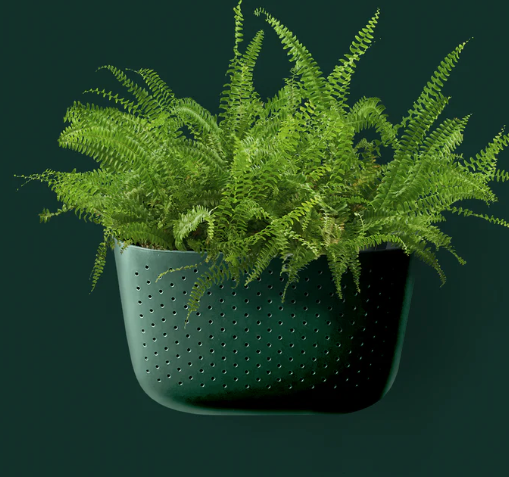
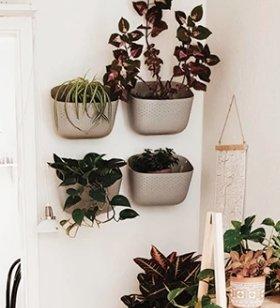
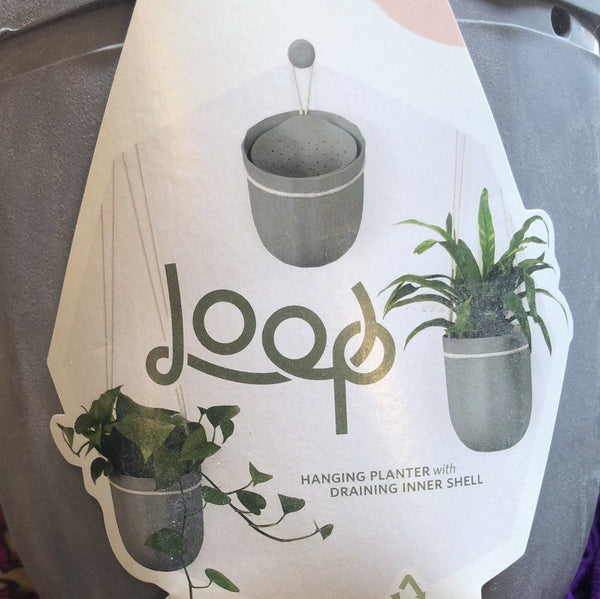
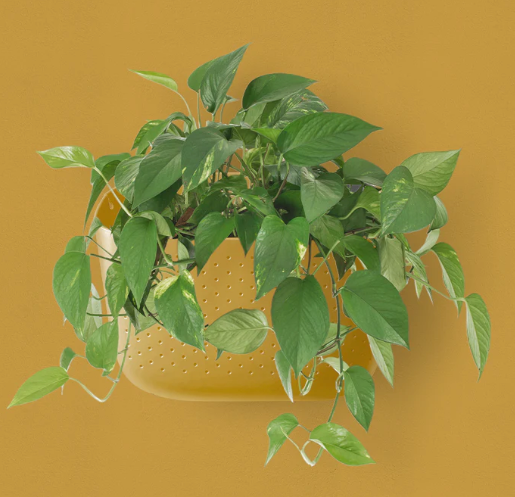
These wall planters make building your own living wall simple. They are self watering and are made from 100% recycled materials.
They are quite large so you can easily fit two or three medium size plants into 1 planter. Each planter comes with all the necessary parts you need to hang it. Just bring a bit of creativity and have fun seeing your creation come to life!
*please note that each planter is a minimum of 20$ shipping charge that you will be billed after your order unless you order over 150$ . Any questions please let me know local delivery is exempt form these charges:)
Details:
• Dimensions: 13” H x 18” W x 8” D
• Soil Volume: 0.50 ft3
• Plant Capacity: (2) 6” plants & (1) 8” plant
• Max weight: 50 lbs
• Hardware Supplied: Self tapping #8 screw & poly ribbed insert
• Water Tank Anchor Points: (template supplied)
- 9” Horizontal & 13” Vertical
• Planter Anchor Points:
- Planter hooks to back of Water Tank for easy plant exchange
• Irrigation Supply Placement: (optional)
- Vertical supply channel = ½” or ¼” supply line
- Water tank = ¼” supply & drip line
• Recommended Drip Line: (optional)
- ¼” inline emitter, 6” spacing
- 2 emitters/planter
- 20 psi / .52 gph
- Max length of run = 19 planters
1-2-3 Hang It Up! (Tips to Install Wall Planters)
1. Attach Tank
Attach self-watering tank to wall using included hardware. Place lid on tank.
2. Plant & Hand Water
Fill planter with plants and soil up to the soil level line. Hand water thoroughly to prim planter and establish roots (Note: When hand watering, watering, water will seep through breathable vents evenly across the front of the planter, carefully dry planter before hanging.).
3. Hang Planter
Slide planter loops up behind and onto tank hooks. (Hint: Look down irrigation supply channel to see loops and hooks.) From now on, use watering holes for watering.
Build Living Walls
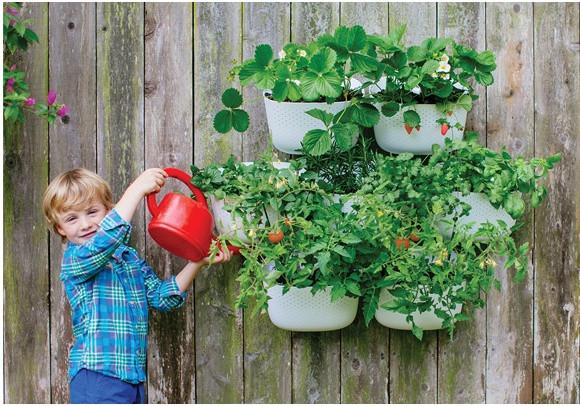
These planters are totally modular. Create living walls of almost any size, indoors or outside. Calculate how many wall planters you’ll need by dividing the width of your wall area by 18” and height by 13”. Use the box as a horizontal template to help you mark holes. Example: Four planters cover a 36” W and 26” H wall area.
Visit WoollyPocket website for more tips and tricks!
Smart Watering
Fill the self-watering tank through the watering hole. Tank will allow water to trickle down to plant roots and fill reservoir. Breathable vents help soil naturally aerate and wick water up to roots until reservoir is empty.
(Note: If water seeps through breathable vents then planter is overwatered.)
Drip Irrigation
For large installations, it's recommended to use automatic drip irrigation.
1/4” emitter lines fit inside the watering tank, emitting water evenly down to roots and reservoir.
Supply lines hide neatly in the irrigation supply channel located on the left and right sides of every wall planter. The complete drip kits may be purchased from woollypocket.com
Choosing Plants
Choose plants that are best for your growing conditions considering natural or artificial light, temperature, etc. Purchase approximately three full sized 6-inch plants or one full sized 8-inch plant.
For stunning living walls, we suggest combining three types of plants:
1. Spillers – plants that hang
2. Fillers – plants that cover
3. Thrillers – exciting plants